Table of Contents
Understanding Glucose Meters
How They Work
Glucose meters are ingeniously designed to measure the concentration of glucose in your blood. The process is relatively simple yet fascinating. Typically, it involves placing a small drop of blood, obtained by pricking your finger with a lancet, onto a test strip.
This strip is then inserted into the glucose meter, which uses chemical reactions to measure the glucose level. The result is then displayed on the screen in mg/dL or mmol/L, providing immediate feedback on your blood sugar levels.
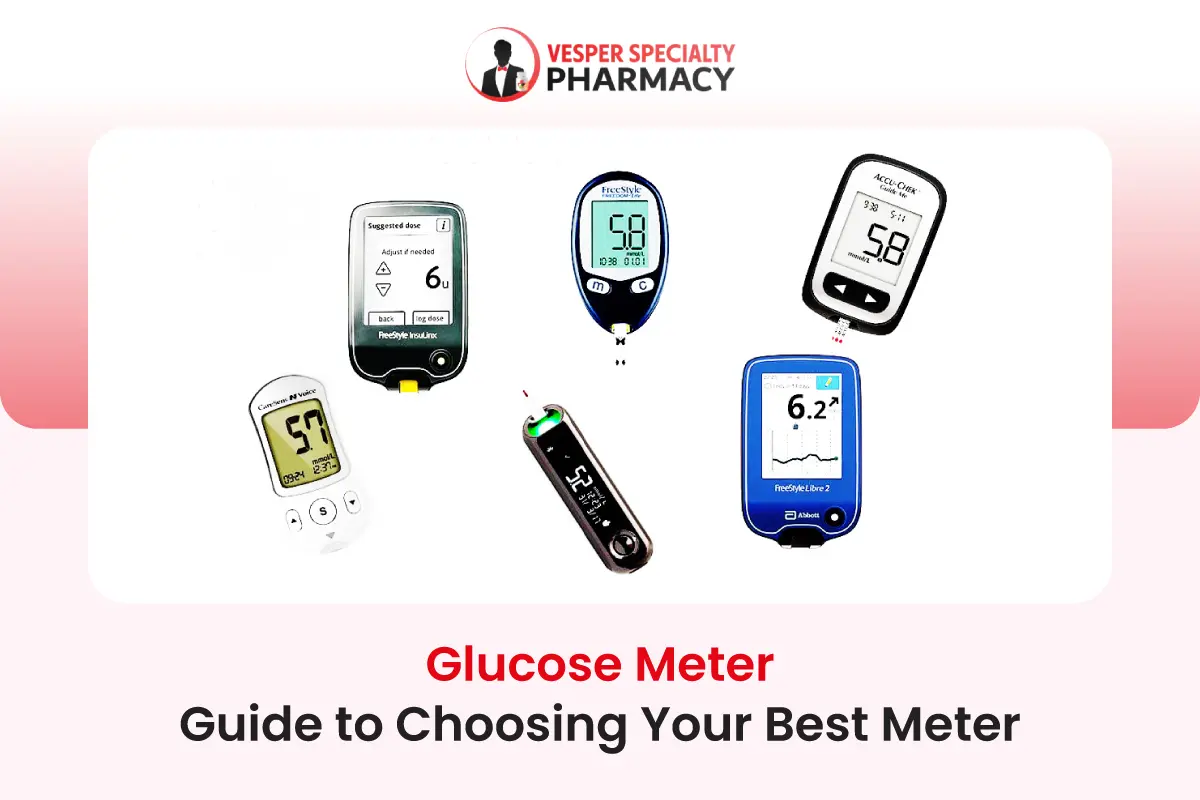
Types of Glucose Meters
- Traditional Glucose Meters: These are the most common types. They require a blood sample for each reading and provide instant results.
- Continuous Glucose Monitors (CGMs): These devices constantly track glucose levels through a sensor placed under your skin, offering a more comprehensive view of your blood sugar trends over time.
- Non-Invasive Meters: A newer development in the market, these meters aim to measure blood sugar without the need for blood samples, though their accuracy and availability are currently evolving.
Key Features to Consider
Accuracy
One of the most crucial factors in a glucose meter is its accuracy. This is vital because treatment decisions are often based on these readings. Look for meters that meet the FDA’s requirements for accuracy. For example, the GlucoRx Nexus is known for its high accuracy and meets stringent quality standards.
Ease of Use
The ease of operation is essential, especially for those who test frequently or have dexterity issues. Features like a large display screen, simple navigation buttons, and no coding requirement can make a significant difference. Consider the Contour NEXT EZ for its user-friendly interface.
Data Storage and Management
Modern meters come with memory storage and options to transfer data to your computer or smartphone. This feature helps track trends over time. The FreeStyle Libre system is excellent for tech-savvy users, offering comprehensive data management through its app.
Size and Portability
If you’re frequently on the go, consider the size and portability of the meter. The OneTouch Ultra Mini is compact, making it an ideal travel companion.
Insurance and Cost
Cost can be a deciding factor, especially for those without insurance coverage. Some meters and test strips can be more expensive than others. Ensure to check what your insurance covers. For affordable options, the Accu-Chek Guide offers a balance of cost and functionality.
Top Glucose Meter Recommendations
For Budget Buyers
- Product: Accu-Chek Aviva
- Overview: Reliable, easy to use, and affordable.
- Key Features: Accurate readings, minimal blood sample required.
- Pros: Cost-effective, widely available test strips.
- Cons: Basic data management features.
For Tech-Savvy Users
- Product: FreeStyle Libre
- Overview: Advanced features with smartphone connectivity.
- Key Features: Continuous monitoring, user-friendly app.
- Pros: Comprehensive data management, no finger pricks required.
- Cons: Higher cost.
For Travelers
- Product: OneTouch Ultra Mini
- Overview: Compact and durable, perfect for traveling.
- Key Features: Small size, easy to carry.
- Pros: Portability, simple operation.
- Cons: Limited memory storage.
- [Affiliate Link]
Simple Step To Use Your Glucose Meter Effectively
Setup and Maintenance
Understanding the setup process and regular maintenance of your glucose meter is key for accurate readings. Always follow the manufacturer’s instructions for calibration and cleaning.
Interpreting Results
Knowing what your readings mean is crucial. Discuss these with your healthcare provider and understand when to take action based on high or low readings.
When to Test
The frequency of testing varies depending on your type of diabetes and treatment plan. Generally, testing before meals, before bedtime, and occasionally after meals is recommended.
Living with Diabetes: Tips and Tricks
- Diet and Exercise: Balanced diet and regular exercise are pillars of diabetes management.
- Stress Management: Stress can affect blood sugar levels, so finding ways to relax is important.
- Regular Check-Ups: Regular visits to your healthcare provider are crucial for managing diabetes effectively.
FAQs about Glucose Meters
This section will address some common questions that potential buyers might have. Here are a few examples:
How Often Should I Calibrate My Glucose Meter?
The frequency of calibration depends on the specific model of your glucose meter. Generally, manufacturers provide guidelines in the user manual. Some meters require daily calibration, while others may only need it periodically. Always follow the manufacturer’s recommendations to ensure accurate readings.
Can I Use Test Strips From Any Brand with My Glucose Meter?
It is crucial to use test strips that are specifically designed for your glucose meter. Different meters and strips are calibrated differently, and using incompatible strips can result in inaccurate readings. Always check the user manual or consult with your healthcare provider to determine which test strips are compatible with your glucose meter.
How Do I Know If My Glucose Meter Is Accurate?
To ensure accuracy, you can periodically compare your meter readings with those obtained at your healthcare provider’s office. Additionally, some glucose meters come with control solutions that allow you to test the meter’s accuracy. If you have concerns about the accuracy of your meter, contact the manufacturer or your healthcare provider for guidance.
What Should I Do If My Readings Are Consistently High or Low?
If your readings are consistently high or low, it’s important to consult with your healthcare provider. They can help determine the cause of the abnormal readings and make necessary adjustments to your treatment plan. Factors such as medication, diet, and physical activity levels can influence blood glucose levels, so working closely with your healthcare team is essential.
How Can I Manage Pain or Discomfort When Pricking My Finger?
To minimize pain or discomfort when pricking your finger for blood glucose testing, consider the following tips:
1. Use the side of your fingertip instead of the center.
2. Rotate the testing site to avoid soreness.
3. Ensure your hands are clean and warm to improve blood flow.
4. Use a lancet with an appropriate depth setting to minimize discomfort.
5. Consider alternative testing sites, such as the forearm, if recommended by your healthcare provider.
6. Relax your hand to reduce tension during the process.
Conclusion
Conclude your post by reiterating the importance of choosing a glucose meter that suits the user’s lifestyle and health requirements. Emphasize that the right glucose meter can make diabetes management much more manageable and can significantly improve the user’s quality of life.


